
Recording Studio Acoustics
Recording Studio Acoustics
In the world of music production, the term "acoustics" often conjures images of foam-covered walls and mysterious calculations. But at a basic level, recording studio acoustics is about controlling how sound behaves in a space to capture and mix audio accurately. Whether you're setting up a professional studio or a home studio, poor acoustics can weaken even the best equipment, leading to muddled recordings and mixes that don't translate well to other listening environments. To simplify things we provide some practical tips to achieve clearer, more professional results.
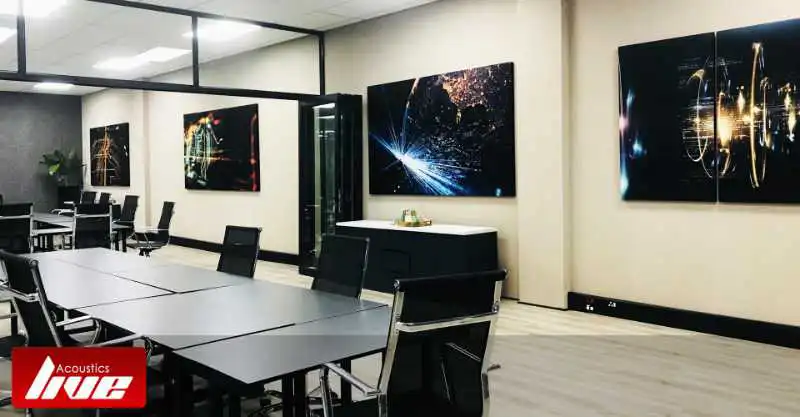
Live Art
Printed Acoustic Panels
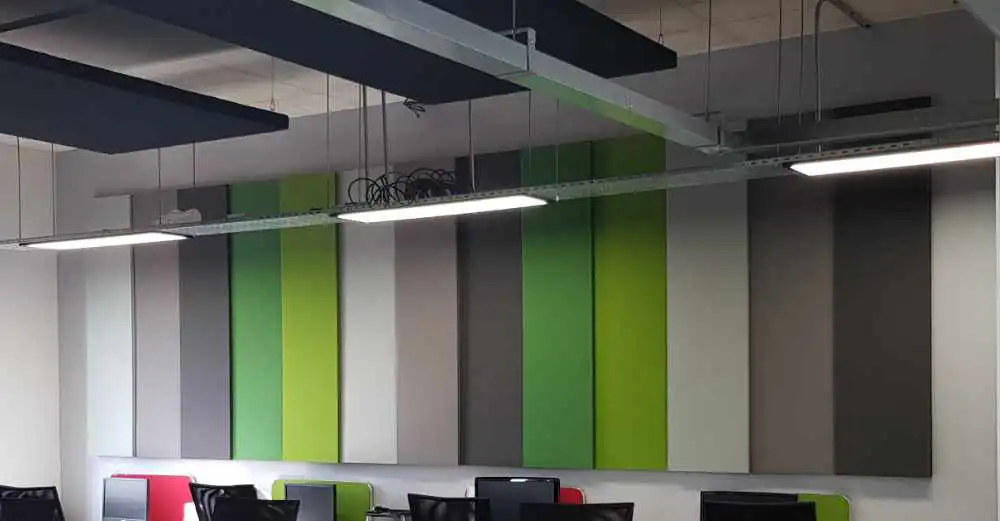
Live Textile
Fabric Acoustic Panels
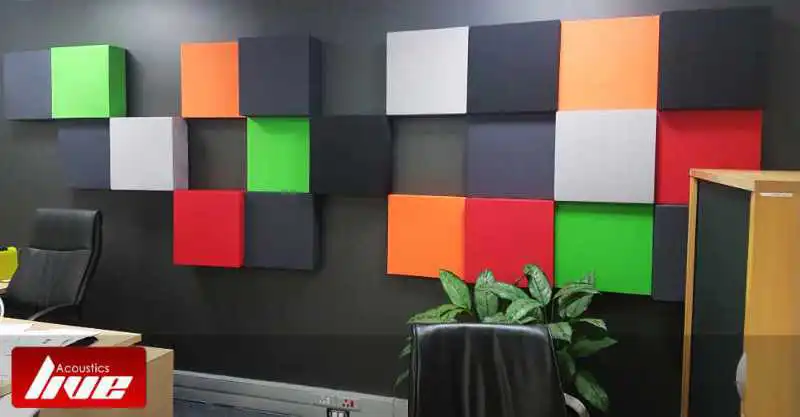
Live Textile
2D Fabric Acoustic Panels
The Basics of Sound in a Room
Sound travels as waves that interact with surfaces in your room. When you play audio through speakers or record an instrument, these waves can reflect off walls, ceilings, and floors, creating echoes, reverberations, or distortions. Key concepts include:
- Reflections: Sound bounces back from hard surfaces, arriving at your ears slightly delayed from the direct sound. Early reflections (those arriving within 20-30 milliseconds) can cause "comb filtering," where certain frequencies cancel out or amplify, resulting in a coloured or unnatural sound.
- Absorption: Materials that convert sound energy into heat, reducing reflections. Porous substances like foam or mineral wool excel at this, especially for mid and high frequencies.
- Diffusion: Instead of absorbing, diffusers scatter sound waves in different directions, preventing harsh echoes while keeping the room feeling lively.
- Room Modes (Standing Waves): In enclosed spaces, low-frequency waves can "stand" between parallel surfaces, creating peaks (boomy spots) and nulls (dead zones) at specific frequencies based on room dimensions. Smaller rooms exacerbate this, often affecting bass guitars, vocals, or kicks in the 100-200 Hz range.
Common Problems in Untreated Rooms
Many overlook acoustics, focusing instead on equipment like microphones or interfaces. However, untreated rooms introduce issues that no plug-in can fix:
- Flutter Echoes and Reverberation: Rapid reflections between parallel walls create a "ping-pong" effect, making recordings ringy or unclear.
- Bass Build-up: Low frequencies accumulate in corners, leading to uneven response. For instance, in an 8-9 foot high room, modes around 120-140 Hz can make acoustics guitars or vocals sound overly resonant.
- Speaker-Boundary Interference (SBIR): Sound from speakers reflects off nearby walls, causing dips in low-end response.
- Noise Intrusion: External sounds leak in, or internal sounds escape, but this ties more to soundproofing than treatment.
These problems make mixing unreliable—what sounds great in your room might fall apart on car speakers or headphones.
Soundproofing vs. Acoustic Treatment: Clearing the Confusion
A common mix-up is conflating soundproofing with acoustic treatment. Soundproofing isolates the room from outside noise using dense materials, seals, and decoupled structures (like floating floors) to prevent sound transmission. It's essential for urban setups but expensive and structural.
Acoustic treatment, on the other hand, manages sound inside the room for better clarity and accuracy. It doesn't block noise but controls reflections and modes to create a neutral listening environment. For most home studios, start with treatment; soundproofing can come later if needed.
Types of Acoustic Treatments
You don't need to overhaul your space—strategic placement covers 30-40% of surfaces. Here's what to use:
- Absorbers: Broadband panels (e.g., 2-4 inches thick mineral wool like Rockwool) tame mid/high frequencies. Place them at reflection points for immediate improvements in clarity.
- Bass Traps: Thicker absorbers (4+ inches, often with air gaps) target lows. Install in corners where bass builds up most—trihedral corners (where three surfaces meet) see up to 9dB pressure increase.
- Diffusers: Wooden or plastic panels scatter sound, ideal for rear walls to maintain ambiance without deadening the room. They're pricier but enhance stereo imaging.
Set-up and Placement Tips
Optimising your room starts with layout:
- Room Orientation: Position speakers along the longest wall to delay rear reflections. Avoid square rooms if possible—they amplify modes.
- Listening Position: Sit at 38% of the room's length from the front wall, centered side-to-side. Form an equilateral triangle with speakers, tweeters at ear height, angled 30 degrees inward.
- Treating Reflection Points: Use the "mirror trick"—from your seat, place a mirror on walls where you see the speakers reflected, then treat those spots with absorbers. Add a ceiling cloud above the mix position.
- Incremental Approach: Start with early reflections, then corners, rear wall, and ceiling. Test by clapping or playing test tones to hear improvements.
- Microphone Considerations: For recording, use dynamic mics (e.g., Shure SM57) in untreated spaces—they pick up less room sound. Position cardioids with the rear facing reflective surfaces.
In home set-ups, test mixes on multiple systems (headphones, car speakers) to ensure translation.
Debunking Common Myths
Acoustics is rife with misconceptions that can waste time and money:
- Myth: Cover Every Wall with Foam: Over-treating deadens the room, especially highs, leading to fatigue. Balance absorption with diffusion; small rooms need more bass control, not total coverage.
- Myth: Professional Sound Requires a Pro Room: Physics limits small spaces, but targeted treatment makes home studios viable. It's about accuracy, not perfection.
- Myth: Treatment Fixes Everything: It improves the room but can't eliminate all issues—use EQ and reverb in post-production for fine-tuning.
- Myth: Bass Traps Are Optional: In reality, lows are the hardest to control; skipping them leaves your mixes boomy or thin.
Simplifying studio acoustics boils down to this: It's not about creating an anechoic chamber but a balanced space where you can trust your ears. Tools like room measurement software or even a simple clap test can guide you. Remember, great recordings stem from understanding your environment, not just buying more gear.
Live Art
Printed Acoustic Panels
Live Textile
Fabric Acoustic Panels
Live Textile
2D Fabric Acoustic Panels